4MB Amiga 600 FastRam extension
In case of doubt or basic questions, please send a short e-mail to info@retrobuddys.com BEFORE installation.
Download Amiga TestKit by Keir Fraser => https://github.com/keirf/amiga-stuff/releases/download/testkit-v1.20/AmigaTestKit-1.20.zip
Please always carry out installations/removals on an ESD mat with potential equalization. Never stand on a (polyester) carpet during installation.
You are now ready to install the expansion into your A600, but before you do, we recommend cleaning the CPU pins with contact cleaner or isopropyl alcohol and a toothbrush or cotton swab, as they have probably accumulated all sorts of gunk/lint/etc. over the years.
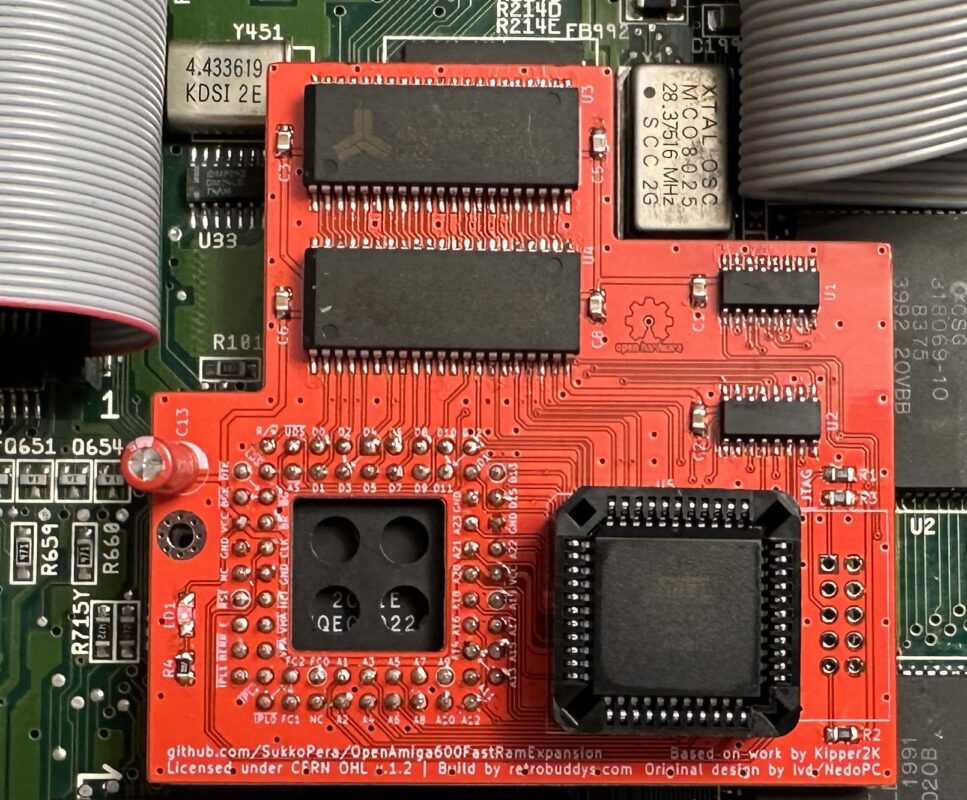
Allow the CPU to dry well and then place the extension on the CPU in the correct orientation and press it down firmly until it feels firm. No effort should be required.
The socket on the memory expansion is modified and the chip is actually inserted there and not plugged in from above. Therefore, please do not constantly insert and remove it, otherwise the socket will wear out very quickly. If possible, do not shake, turn or place the computer horizontally after installation.
Before you reassemble the case, we recommend running Amiga TestKit. Use the memory option (F1), 4 MB Fast RAM must be displayed. Then start the memory test (F1 again) and let it run for 20-50 cycles: If the TestKit does not find any errors, the memory expansion is seated correctly. If errors occur, switch off the computer and try to fit the extension better by pushing it further down or turning it slightly back and forth.
It can happen that the card slowly moves out of the base over time. To avoid this, you can anchor it to the motherboard using the hole to the left of the CPU, which should match one of the holes for the feet of the hard disk bracket.
Note that, as already mentioned, the PLCC socket is not intended for this type of use, which means that the contact quality deteriorates a little each time the board is inserted or removed. So try not to remove them unnecessarily. If you notice that the contact has deteriorated so much that the machine is no longer stable, the base must be replaced.
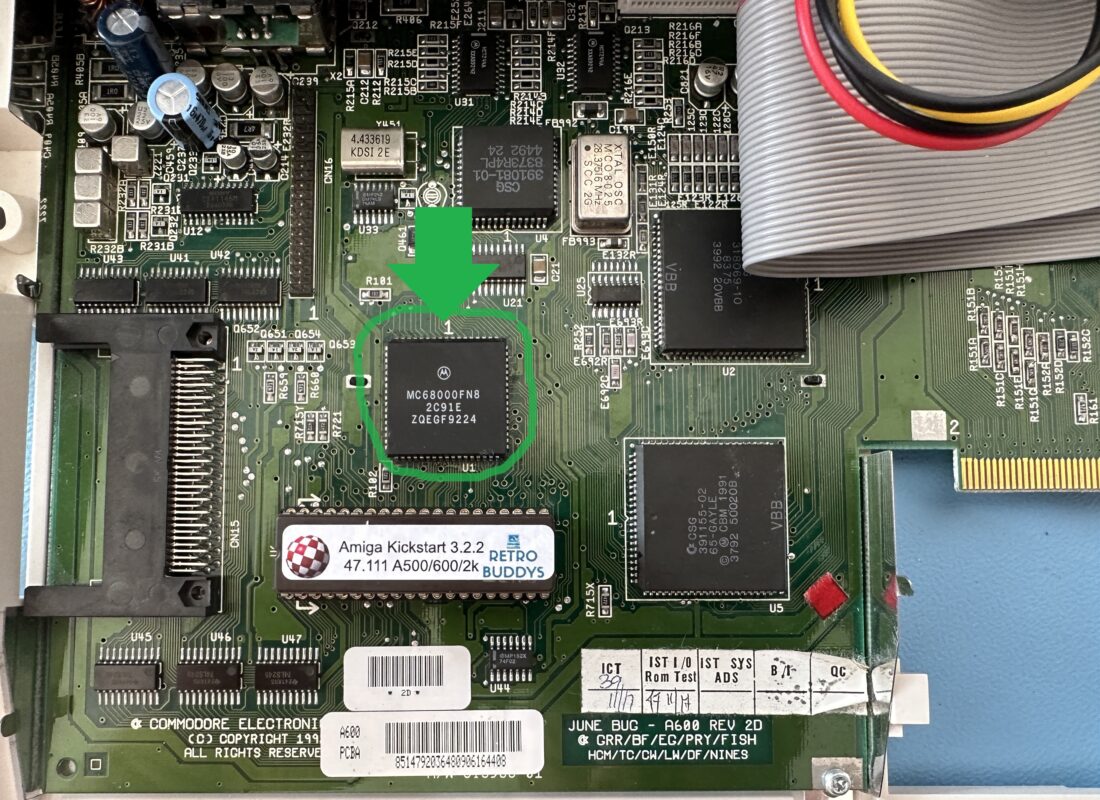
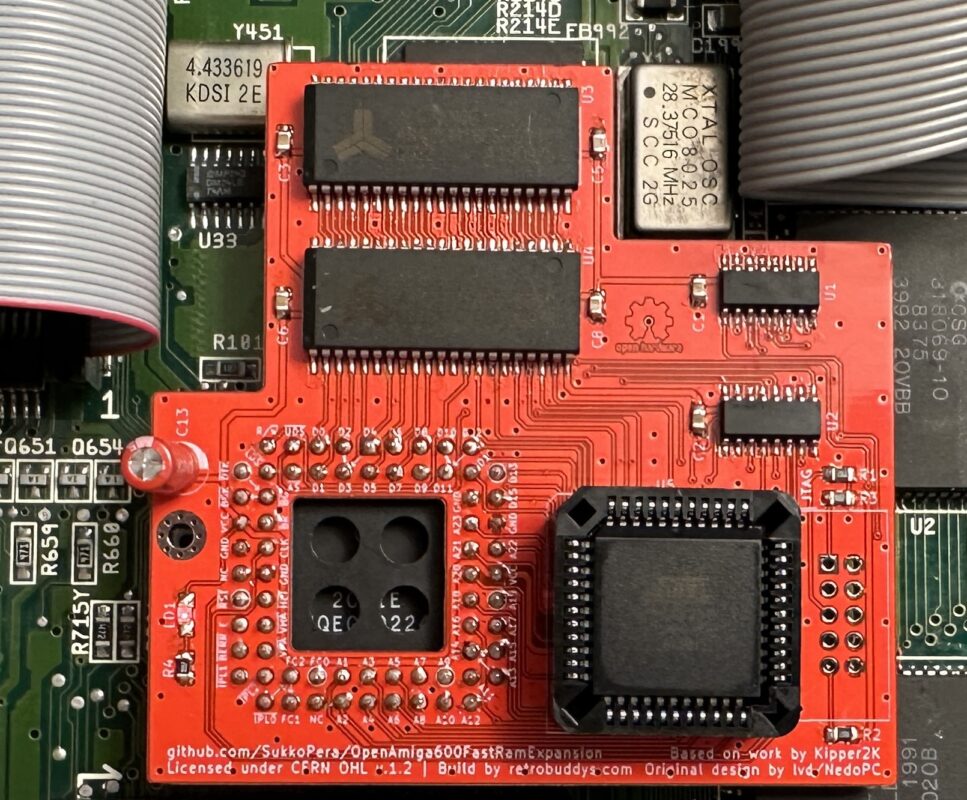
Each memory expansion has been extensively tested by us and has been written, read and verified for at least 50 cycles with the “Amiga Testkit” without errors.
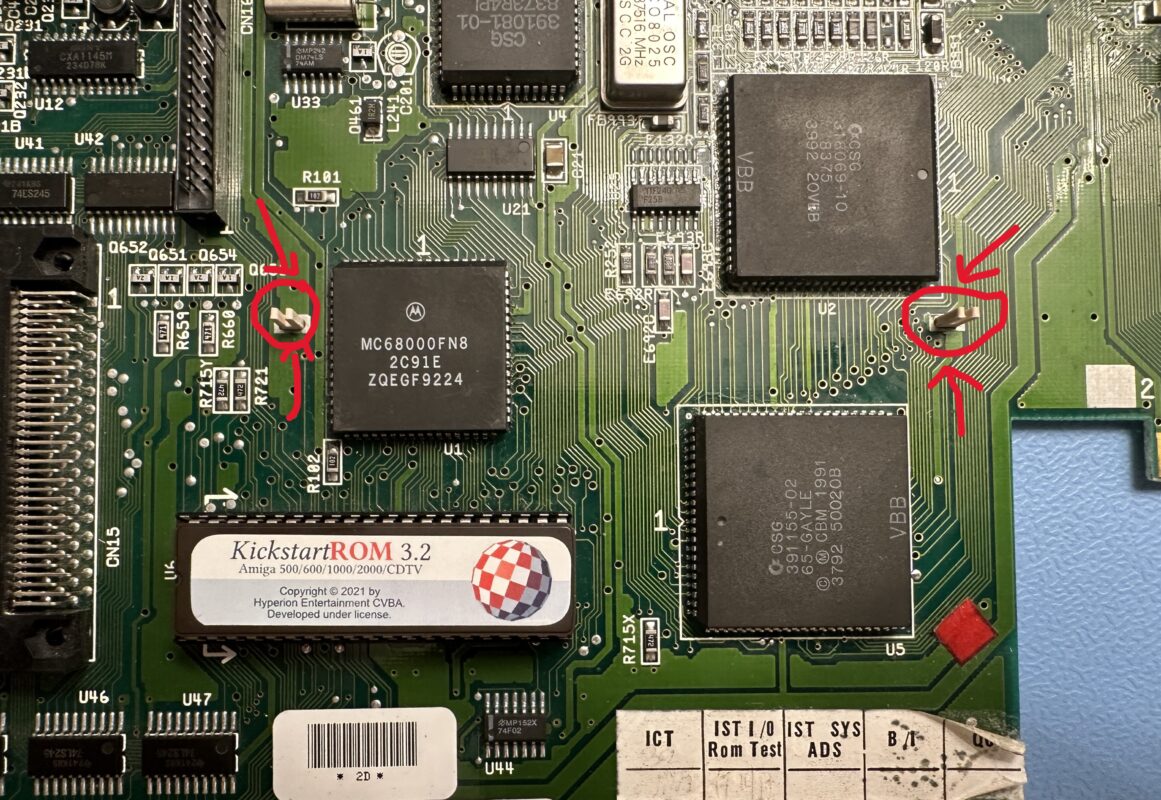
If you have received the 3D frame from us for mounting the memory expansion, you must first remove the mainboard from the housing. Then turn to the back and look for the 2 rectangular holes.
Please insert T-shaped pins into these holes. If they are too wide, please sand them down carefully with some sandpaper. For safety, we have included 2 sets consisting of pins and spacers.
If you have not received a mounting frame, then you have a memory expansion with a very strong socket from AMP which does not detach from the CPU even when you lift your Amiga by the memory expansion and you therefore do not need a frame.
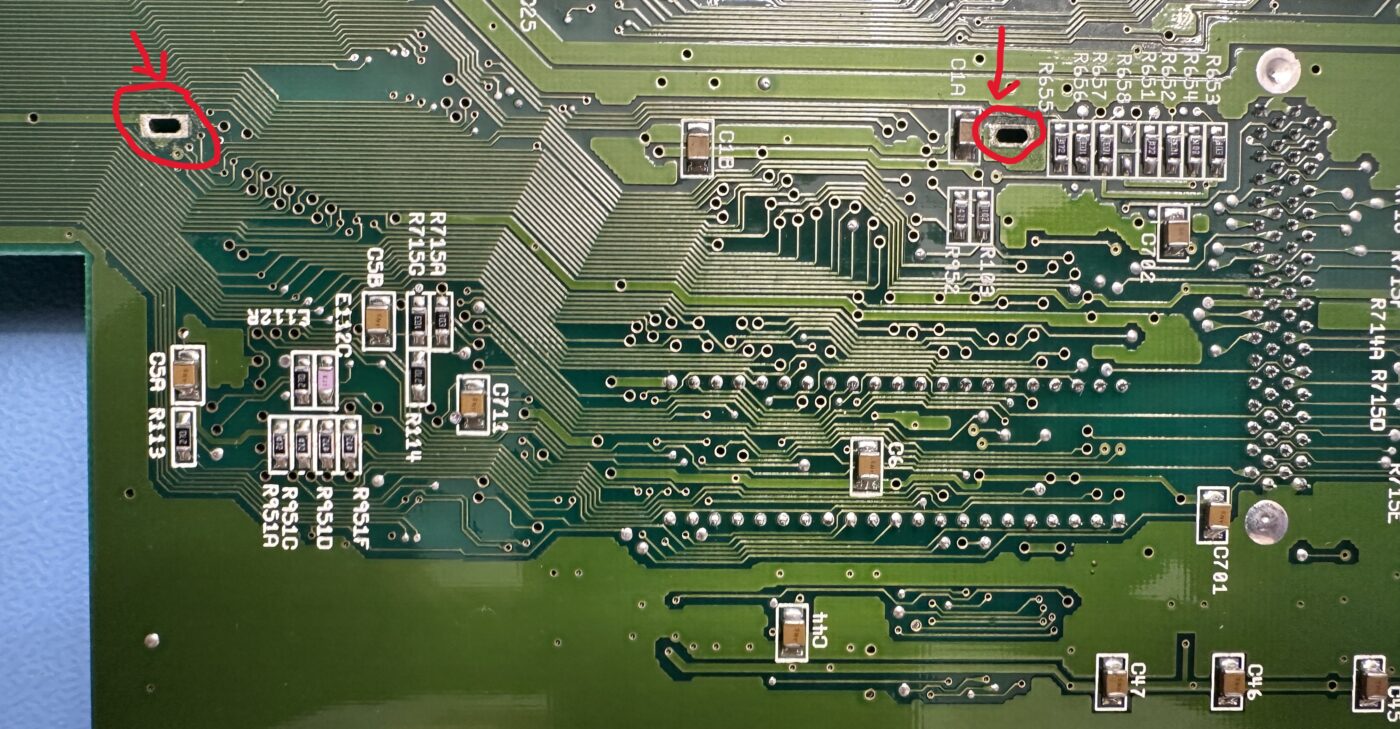
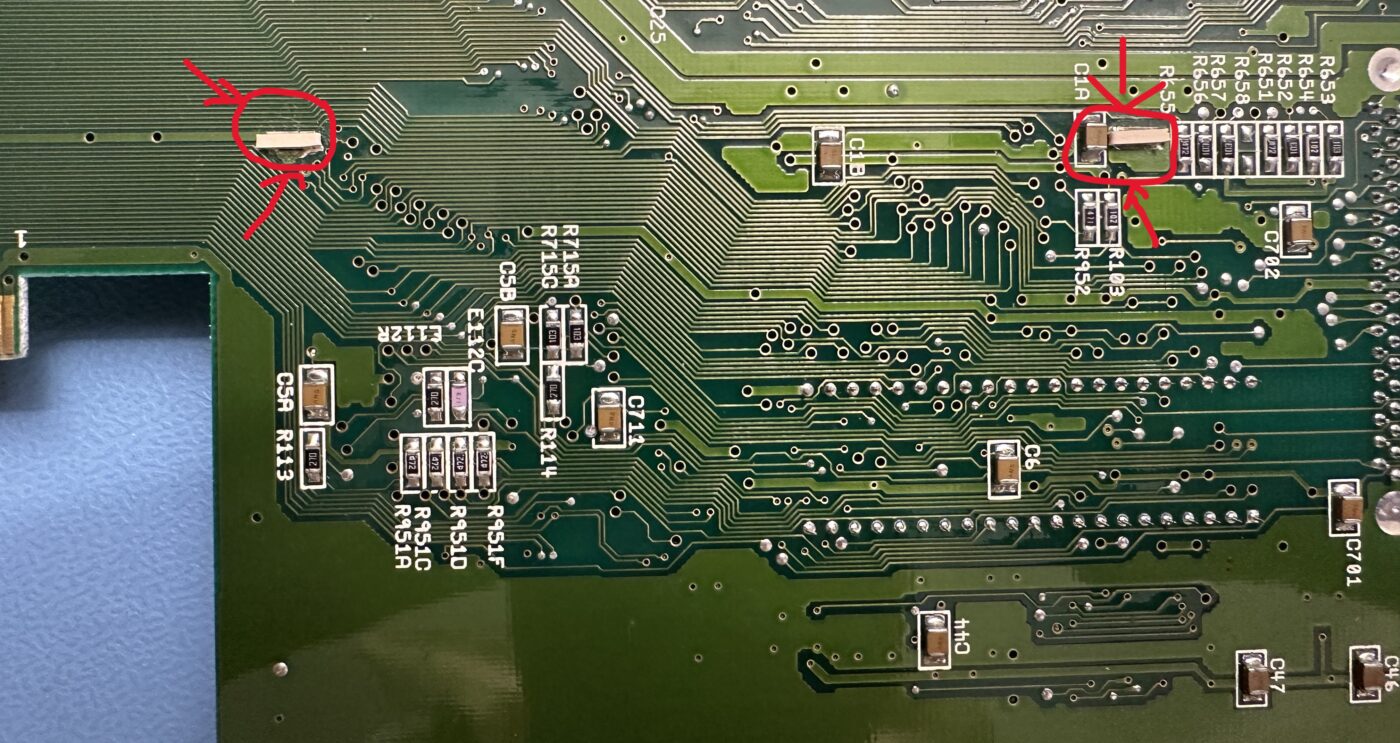
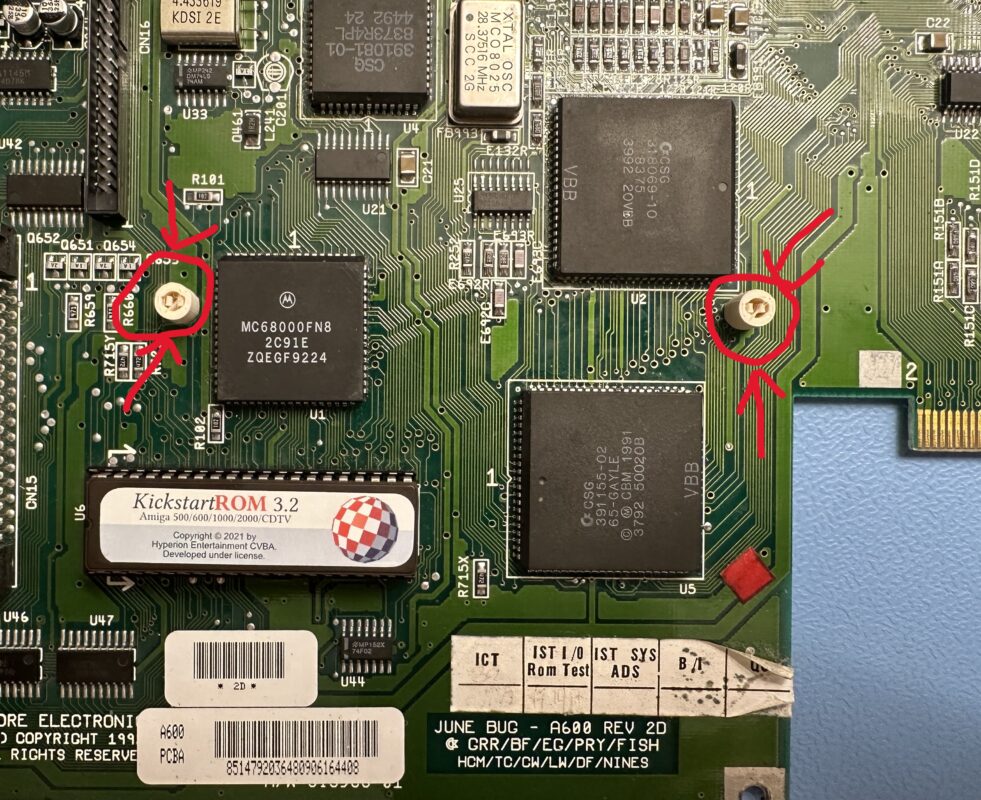
Please turn the mainboard over.
Now you have to attach the round spacers with the rectangular side.
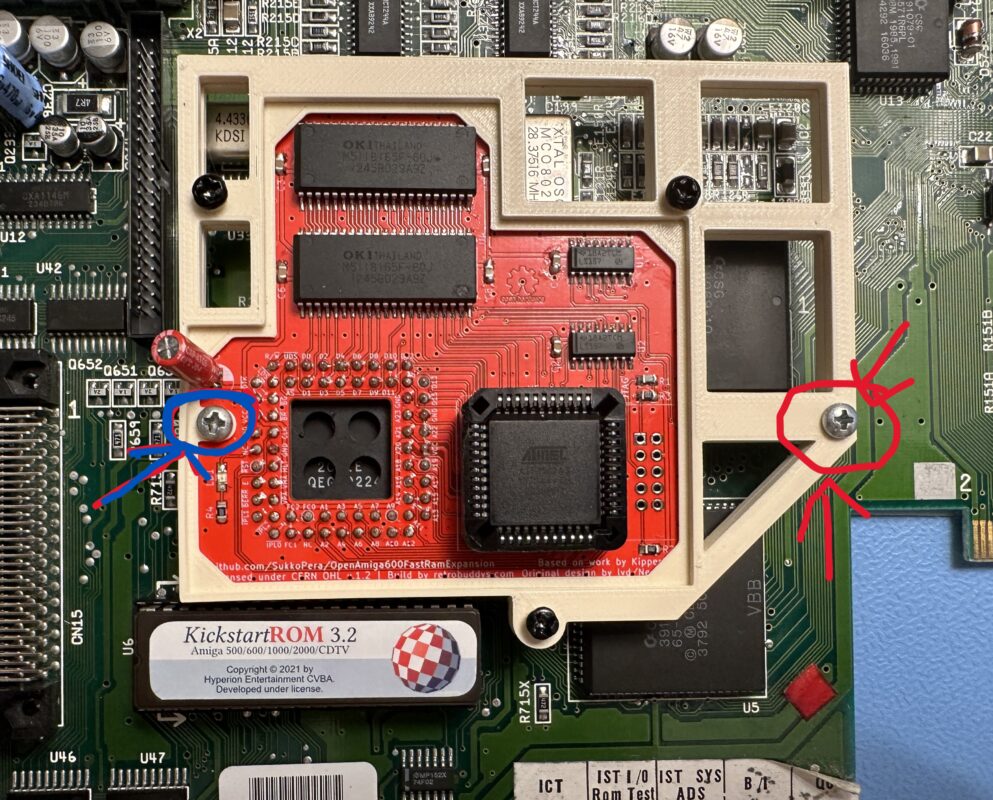
Finally, please attach and press on the memory extension and tighten it carefully with the screws supplied. Please remember that the frame is made of PLA plastic and breaks off easily.
After solid always comes from 😊
Before you reassemble your Amiga 600, please test it once with the Amiga test kit.
